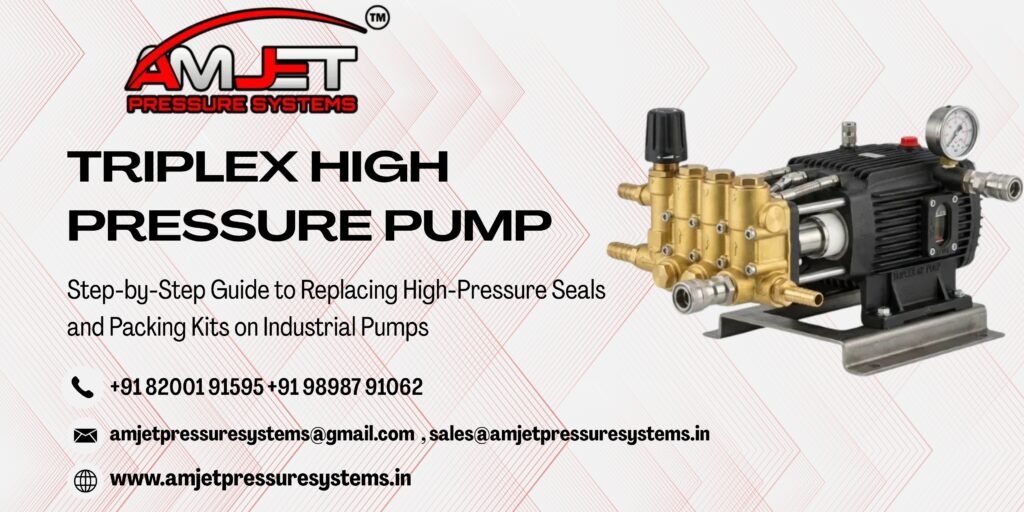
Step-by-Step Guide to Replacing High-Pressure Seals and Packing Kits on Industrial Pumps
Industrial triplex plunger pumps operate under rigorous conditions, repeatedly cycling through thousands of pounds of pressure per square inch. At the core of this operation are the high-pressure seals and packing assemblies that maintain fluid containment around reciprocating ceramic plungers.
Over time, continuous friction, thermal expansion, micro-abrasives in the water supply, and operating pressures wear down elastomeric packings and PTFE seals. Recognizing the signs of seal degradation early—and executing a precise packing replacement—prevents fluid leakage into the crankcase, loss of discharge pressure, and catastrophic damage to high-cost components like ceramic plungers and manifold blocks.
Early Indicators That Your High-Pressure Seals Need Replacement
Before complete seal failure occurs, pumps display clear operational indicators:
Pressure Drop at the Spray Gun or Nozzle: A gradual reduction in operating Bar/PSI while maintaining motor RPM indicates fluid bypassing worn packing rings.
Excessive Water Leakage Below the Fluid End: While a minor weep (a few drops per minute) is normal for lubrication in some continuous-duty systems, steady dripping or streaming water signifies high-pressure seal failure.
Pulsing Discharge Hoses: Worn packings on a single plunger cause pressure imbalances, resulting in severe hose vibration and uneven spray flow.
Milky Crankcase Oil: Water leaking past low-pressure oil seals into the power end turns pump oil milky, threatening crankcase bearings and connecting rods.
Required Tools and Replacement Preparation
Before beginning fluid end maintenance, ensure you have a clean workspace, the correct manufacturer rebuild kit, and the following tools:
Metric/Imperial socket and Allen wrench set
Seal extractor tool or brass pick (avoid steel picks to prevent scratching seal housings)
Plastic or brass drift punch
Torque wrench
Clean lint-free shop towels
High-grade silicone grease or pump assembly lube
Step-by-Step Packing Kit Replacement Procedure
+-----------------------------------------------------------------------+
|                    PACKING REPLACEMENT FLOW CHART                     |
|                                                                       |
|  [1. Isolation]  -->  [2. Manifold Removal]  -->  [3. Seal Extraction]|
|         |                                                      |      |
|  [6. Reassembly] <--  [5. Packing Installation] <-- [4. Inspection]   |
+-----------------------------------------------------------------------+
Step 1: System Isolation and Pressure Relief
Disconnect power from the motor or engine drive unit. Lock out/tag out (LOTO) electrical switches. Close the inlet water supply line and open spray guns or pressure relief valves to vent all trapped residual pressure from the manifold.
Step 2: Fluid End Manifold Removal
Unbolt the head retaining bolts on the manifold block in a diagonal, cross-pattern sequence to distribute tension evenly.
Carefully pull the manifold block straight off the ceramic plungers. Support the weight of heavy industrial manifolds using a hoist or support blocks to avoid snapping or chipping fragile ceramic plungers.
Step 3: Extracting Worn Seals and V-Packings
Remove the low-pressure and high-pressure seal retainers from each plunger chamber.
Using a brass pick or seal extractor tool, carefully pull out the old V-packings, O-rings, intermediate rings, and brass support rings.
Note the exact sequence and orientation of every ring during extraction.
+-----------------------------------------------------------------------+
|                TYPICAL V-PACKING STACK ORIENTATION                    |
|                                                                       |
|  Plunger Side -->  (Brass Ring) > (V-Packing) > (Head Ring)  --> Fluid|
|                    [Open V-groove ALWAYS faces pressure]              |
+-----------------------------------------------------------------------+
Step 4: Component Inspection and Cleaning
Inspect Ceramic Plungers: Run a fingernail along the surface of each plunger. Any visible grooves, scoring, or chips will shred new seals instantly. Damaged plungers must be replaced alongside the seals.
Inspect Seal Cavities: Clean internal manifold bores with a shop towel and inspect for pitting or scoring.
Check O-rings: Inspect all manifold O-rings and backup rings for cracking or compression sets.
Step 5: Installing New High-Pressure Packing Kits
Lubricate the new V-packings, O-rings, and internal seal cavities with clean silicone grease or pump assembly lube.
Install the rear brass support ring into the seal cavity.
Press the high-pressure V-packings into place one by one using a soft plastic drift punch. Ensure the open “V” groove faces forward toward the high-pressure fluid side of the pump. Installing packings backward will cause immediate high-pressure leakage.
Seat the intermediate brass ring and low-pressure seal assemblies into their respective retainers.
Step 6: Reinstalling Manifold and Torquing to Spec
Slide the manifold assembly back onto the plungers smoothly, keeping it parallel to the crankcase to avoid pinching new seals.
Thread manifold bolts by hand to prevent cross-threading.
Using a torque wrench, tighten bolts in a star or cross-pattern to the manufacturer’s specified torque rating (ft-lbs / Nm). Uneven bolt torque leads to cracked manifold blocks or premature seal blowouts.
Best Practices to Extend New Seal Service Life
Maintain Water Filtration: Ensure inlet water filters (50–100 micron) are cleaned daily. Silt and rust particles accelerate packing abrasive wear.
Prevent Dry Running: Never allow a heavy-duty triplex high pressure pump to run without positive inlet water pressure. Dry running causes friction heat that melts elastomeric seal lips within seconds.
Monitor Inlet Temperatures: Operating above recommended fluid temperature limits softens seal compounds, leading to premature extrusion.
Summary & Maintenance Scheduling
Replacing high-pressure seals and packing kits as part of planned preventive maintenance prevents unexpected downtime during critical industrial operations. Keeping spare rebuild kits on hand ensures your hydro jetting machine or high-pressure washing system maintains peak performance shift after shift.
Need genuine seal kits, plungers, or technical support for your pumping equipment? Consult with the engineering team at Amjet Pressure Systems for original spare parts and complete pump rebuild guidance.